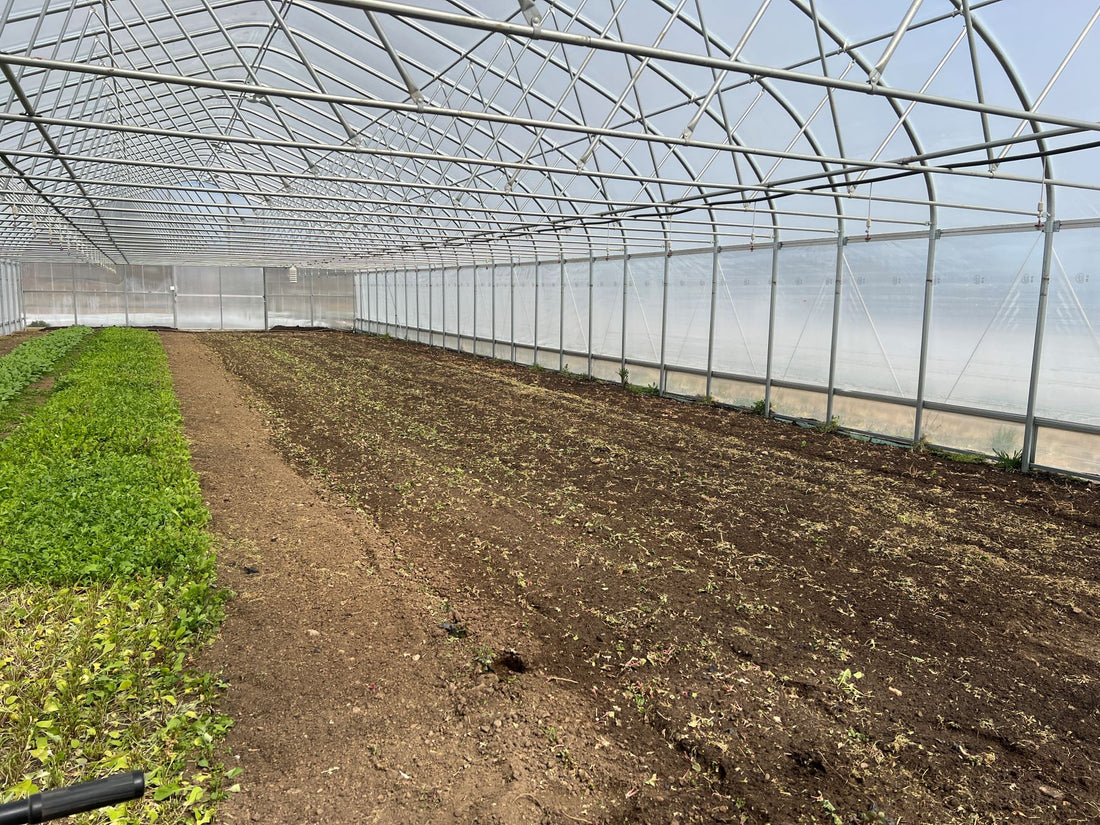
How do we prepare our fields here at the Farm on Central?
First, there’s no ‘right way’ to bed prep. Every farm has a slightly different process, and you don’t need to copy exactly what someone else is doing.
But if you’re starting out or unsure of your methods, this will give you a brief look at our process and some of the steps you may want to include on your own farm.
Fall Preparations: Soil Testing
You won’t know how to amend your soil without getting it tested, so you don’t want to skip this step!
Rather than wait until the spring, we get our soil testing done annually in the fall. That gives us months to figure out what we need to apply before spring planting.
Step 1: Check Soil Moisture
There’s not much you can do with wet soil. So before we begin prepping our fields, we wait for a window with no rain, allowing the soil to dry out. Usually this is not an issue, but during the late spring/early summer when we get more rain, it's important to keep an eye on the weather. Sometimes we'll juggle tarps to dry the soil out if we notice rain is on the horizon.
How do I know when the soil is dry enough?
We do a simple squeeze test! Just squeeze a handful of soil into a ball and see if any water seeps out or not. Then drop the ball from waist height. If the ball shatters, it’s dry enough to work. If it just sort of slumps on the ground…it’s a bit too wet.
Step 2: Loosen the Soil
This is where we actually begin the bed prep. Once the soil is dry enough, we start by breaking up the hardpan. In the greenhouses, we just use a broadfork to loosen the soil. In the fields, we use low-disturbance ripper teeth behind a small tractor, which are highly effective at getting the job done!
When do I add compost?
If we use compost, we actually apply the compost before loosening the soil. There are many ways to mix in compost, and not everyone lays down their compost before ripping, but we’ve found that it works well for us.
Step 3: Apply Fertilizer
Remember those soil tests done in the fall? Over the winter we plan out our fertilizer and amendments based on the soil test results. After the soil is loosened, this is when we go ahead and apply the fertilizer.
Step 4: Shallow Till
Our goal is to till as little as possible. For most crops, that means we just till the top inch or two. For root crops, like potatoes, we have to till deeper.
During this step, we’re primarily mixing in the compost and fertilizer. We’re not doing a deep till to completely turn over the soil.
On large farms, it can be more efficient to use equipment like a spader or stone burier. But for our small farm, we prefer a BCS walk-behind tractor. We add on a PDR (precision depth roller) to easily change the height of the tillage.
Step 5: Plant!
Finally, it’s time to start planting.
Depending on the crop and soil type, we might do a raised bed before planting. Raised beds are beneficial when dealing with wetter soils, or when trying to warm up beds faster in the early spring. But for most of our crops, our soil flat beds work just fine. (Strawberries, onions, and garlic are the exceptions.)
And that wraps up our bed prep! For some crops, we might do some extra mulching or use a weed barrier fabric, but this is our standard process.
Bed prep is important, but it’s not something that needs to be over-complicated. Loosen, fertilize, and do a light till. It’s a simple process that anyone can follow!


